Gold Leaf Techniques: The Technique of How Gold Leaf Is Applied to a Sign
Prepare and Prep the Surface for the Gold Leafing Technique or Gilding
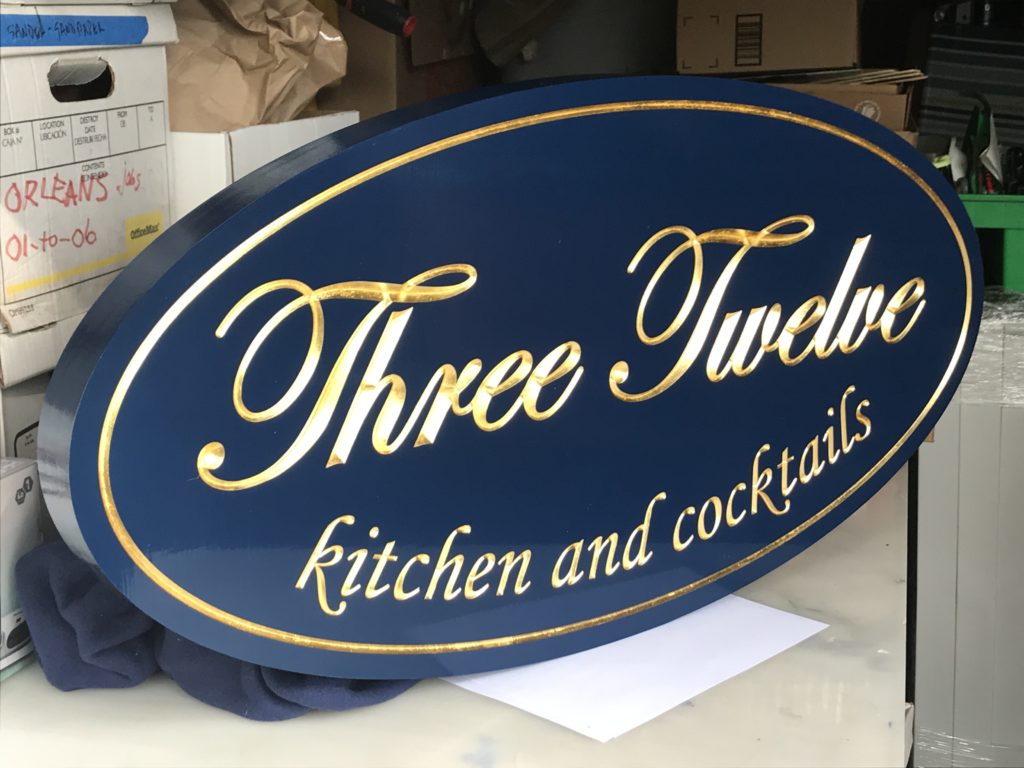
When you decide to purchase a gold leaf sign, the product can be a work of art. Actually, it is! Not only is your gold leaf sign an extension and visual representation of your company or branding, but it is a work of art, using a timeless decorative technique process of applying gold leaf or gilding. There are various techniques that go into making a sign, but the gilding process itself has not really changed since the ancient beginning of using gold to add prestige to surfaces. Below is the series of steps using in our process of manufacturing a gold sign.
Carving: Start with a V Carved Sign or Sandblasted Sign
In this case, we start with our carved sign panel or sandblasted sign panel, which is typically made of wood or HDU (High Density Urethane). HDU has become a very popular material and has all but replaced wood in many instances, although wood is still very popular. Typically a sign panel will have a v carve or sandblasted surface that will be covered with gold. The surface to be gilded will first be coating with a standard paint primer. Once the primer is dry, it is time to lay down a coat of gold paint, followed by a burnish sealer. The burnish sealer seals the surface on which the gold will be applied and is an important step to ensure no issues with the next steps.
Choose the Metal Material - Real Gold Leaf, Silver Leaf
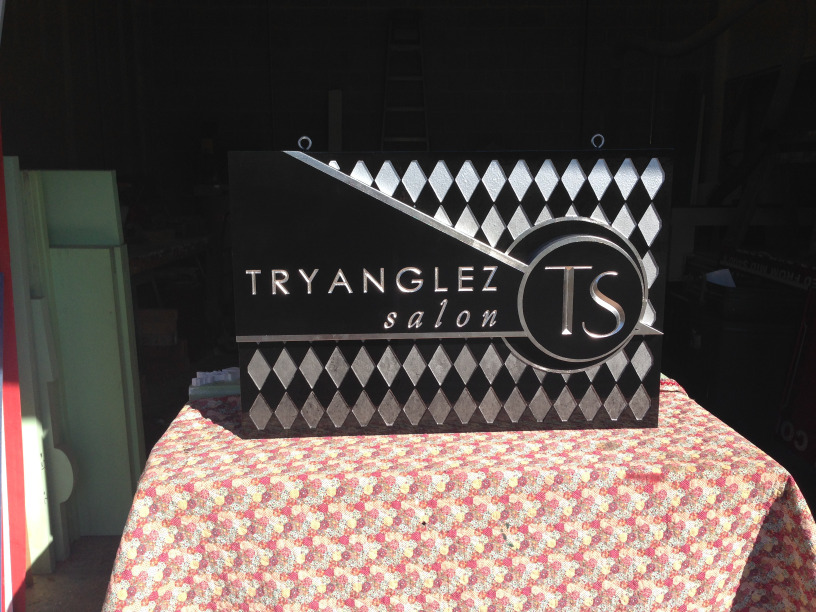
Real Gold leaf is a gold product produced in a variety of purity or karat numbers as well as shades which vary from pure gold yellow to a silver finish. 24-Karat leaf is 99.9% gold and is yellowish in gold appearance. 12 Kt gold is 50% gold and the rest usually silver, which results in it frequently being called White Gold. 22 Kt leaf is about 92% gold, and is commonly used for picture frames. Other metals mixed with the gold change the color or shade of the leaf. For our gold sign projects, the gold leaf supplies material we use for our gilt surface gold leafing technique is 23 Kt patent sheets of gold. 23 Kt sheets is the ideal metallic composition for gold sign surfaces as it does not require any additional finish or coating. The gold will stay well preserved and last many years. Patent leaf is an individual sheet of gold leaf, measuring 3 3/8″ x 3 3/8″. The gold is attached to a piece of wax paper for easy handling when applying it to the sign surface. For our silver leaf sign products, we use palladium. The appearance and color of palladium is very similar to silver, however, palladium will not tarnish like silver. It is more expensive than silver, but there is much less maintenance to worry about. Other metal leaf, such as copper leaf, can be gilded on sign panels, but we primarily stick with luster and beauty of gold and silver.
Some clients on a tight budget may opt for metal effect paint which is sometimes referred to as gold leaf paint. While metallic paint is one alternative, it will not last as long as authentic gold. it’s something to keep in mind when deciding on the materials of your sign product.
Apply the Adhesive Size
Once the surface is prepped and dry with paint and burnish sealer, and metal selected, it is time to apply size to the surface that will be covered in gold. Size comes two variations: a water based size and oil-based version. For sign projects, we use oil-based size. It has a smell similar to varnish. Our product of choice is quick drying size, that will set up in 45 minutes to an hour, depending on the environment. To apply the size, use good oxtail brushes in a thin even coat. Allow the necessary time for the size to setup. Once the size is setup, it is time to apply gold leaf. Avoid laying gold if the surface is wet or very tacky. Laying gold on a wet or tacky surface will cause the gold to appear blotchy and will need to be redone.
Application Techniques or Gilding Techniques of the Gold Leaf
As mentioned above, in our techniques, we typically use patent leaf, a form of gold for our chemical gilding process. To apply the gold, take a sheet out of the booklet and place the leaf face down over the area that has been prepped with size. If you rub gently on the back of the paper, the gold will be released onto the sign surface. Keep applying leaf until the sized area is covered in full. As you are working on the application process, you can lightly brush the gold with a gilding brush to smooth the surface. We use a traditional gold leaf technique and this form of gilding is done by hand.
Finishing the Gilt Surface
Once you have completed laying the gold, the next step is to check your work for any gaps or missed spots. If identified quickly enough, gold can be re-applied to cover the missed areas. If the size has become too dry, you may need to resize the area and go through the setup process again. Once the gold has been placed, allow the surface to dry for 24 hours. If you wish to keep your brushes, mkae sure to clean them properly. Once the size is dry, check the gold coverage again to make sure no other spots have been missed. If all good, your sign is now complete!
Gold Leaf Technique Conclusion
Mastering the art of gilding gold does not happen overnight. It takes time to learn the techniques and how to handle the gold properly so it doesn’t get wasted. The process will transform a v carve or sandblasted sign panel into a beautiful masterpiece covered in gold! Contact Us to get more information on our gold standard sign or by filling out the form below for help with your project!